Picture this: You’re at a wedding and notice the most beautiful photo backdrop you’ve ever seen. You will likely snap a few unforgettable photos with your loved ones because who could resist? You might think you need to spend a large chunk of change finding the perfect backdrop for your event, but what if we said you could do it yourself? Make a DIY ribbon backdrop in four easy steps.
Gather Your Materials
Gathering your materials is the first step in creating the ultimate ribbon backdrop. Have these items handy when you’re ready to start so you don’t forget anything.
- A selection of ribbons: Choose varied textures and hues to cultivate a visually captivating backdrop. Consider satin, grosgrain, and various patterns and colors.
- A durable curtain rod or a wooden dowel: The rod or dowel will serve as the backbone of your creation, providing structural support.
- Scissors: Use them to precisely trim and shape your ribbons, ensuring a clean, refined finish.
- Measuring tape: This tool is essential for exacting the lengths of your ribbons to perfection, thus guaranteeing uniformity and balance in your composition.
- Hooks or fishing line: These items can help attach and secure the ribbon to the rod so they don’t shift or accidentally fall.
Measure and Cut the Ribbons
With the assortment of materials at hand, the next pivotal step involves the meticulous measuring and cutting of the ribbons. This phase is critical as it sets the stage for a harmonious balance and symmetry within your backdrop.
Utilize the measuring tape to ascertain the desired length of each ribbon. While precision is necessary, you can always trim these ribbons later. Remember, it’s easier to remove length from your ribbon than it is to add it.
Prepare and Attach the Ribbon to the Rod
Now for the most exciting step: Attaching the ribbon! First, ensure the rod or wooden dowel is stable and at your desired height. Lay out and smooth each ribbon strip to keep them free from wrinkles or entanglements.
Now, carefully align one end of your ribbon to the edge of the rod. Using your hooks or fishing line, fasten the ribbon onto the rod, securing it in place. Repeat this process for each ribbon strand. Approach this step with patience and care to help minimize the stress.
Trim and Style
Your backdrop should start to look put together. Take a step back from your creation to ensure everything looks uniform and harmonious. Now is the time to trim the bottom of any strands that are longer than others to ensure perfect alignment.
You can also add little embellishments to style the backdrop, making it truly unique to you and your event. Maybe you’ll spray the ribbon with glitter, attach florals, or add lighting. Add a touch of YOU to make your backdrop shine.
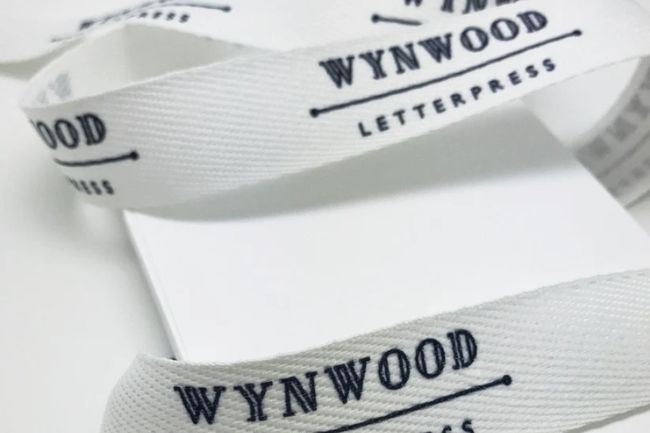
Now that you know how to make a DIY ribbon backdrop in four easy steps, you’re ready to dazzle guests with this element at your event. Consider Ribbon By Design’s custom ribbon with logo if you’re looking for a personable way to make your ribbon backdrop unique. Everyone will be lining up to take pictures in front of your creation!

